Bem-vindos , Welcome

Bem-vindos, espero que gostem e obrigada pela visita

Welcome, hope you enjoy and thanks for visiting

Mostrar mensagens com a etiqueta Passo a passo. Mostrar todas as mensagens

segunda-feira, 14 de abril de 2014

Bolero em crochê (com tutorial)

Olá,

Descobri o tutorial deste bolero no you tube e queria partilhá-lo com vocês, porque é muito fácil de fazer!


Hello,

I found this bolero tutorial on youtube and wanted to share it with you because it is very easy to do!


A explicação no you tube está dividida em 6 partes.
Agora é só clicar nos links.
Bom crochê
Bjs
Sónia

The explanation in you tube is divided into 6 parts.
Now just click the links.
good crochet
kisses
Sonia


segunda-feira, 18 de fevereiro de 2013

Aprende a fazer o teu tear - DIY - Learns how to make your loom


Arranja 4 ripas de madeira e corta-as do tamanho que quizeres. Podes fazer teares quadrados, rectangulares e triangulares.

Depois para unir as ripas de madeira, corta as pontas num ângulo de 45º e cola com cola para madeira.

Get yourself 4 pieces of wood and cut it, in the size you want them. You can do looms square, rectangular and triangular. 

Then to unite the pieces of wood, cut the ends at an angle of 45 º and glue with wood glue.


Se quiseres reforça os cantos e depois marca a distância a que queres os pregos.

If you want, reinforces the corners and then mark the distance you want to the studs.


Tear pronto!!! Agora só me falta aprender a trabalhar com ele!

 Loom ready!!! Now I just need to learn to work with it!

Segue o link:
Follow the link:

 http://youtu.be/tBanhQSggTg


quinta-feira, 14 de fevereiro de 2013

Baby bag tutorial


DIY Rustic handmade decorative wall hanging coat rack / Cabide rústico


Olá, já tinha este pedaço de madeira há tanto tempo, e queria fazer um cabide com ele. Inicialmente não tinha previsto pintá-lo, mas depois de aprender algumas técnicas, decidi avançar!


Hello, I had this piece of wood long ago, and wanted to make a hanger with him. Initially did not plan to paint it, but after learning some techniques I decided to move forward!


Rustic handmade decorative wall hanging coat rack

sexta-feira, 27 de abril de 2012

Joaninha voa, voa - Ladybug flies flies

Olá, desta vez trago uma joaninha para colocar os alfinetes. É muito fácil de fazer e divertido também.

 Hello, this time I bring a ladybug to put the pins. It is very easy to do and fun too.


Em primeiro lugar, marcam-se 2 círculos do tamanho que quiseres e depois corta-se o tecido à volta com alguma margem. Eu cortei dois quadrados porque depois de coser o excesso fica para dentro.

 First, market two circles in size you want, then cuts the tissue surrounding with some margin. I cut two squares because after sewing the excess is inside.

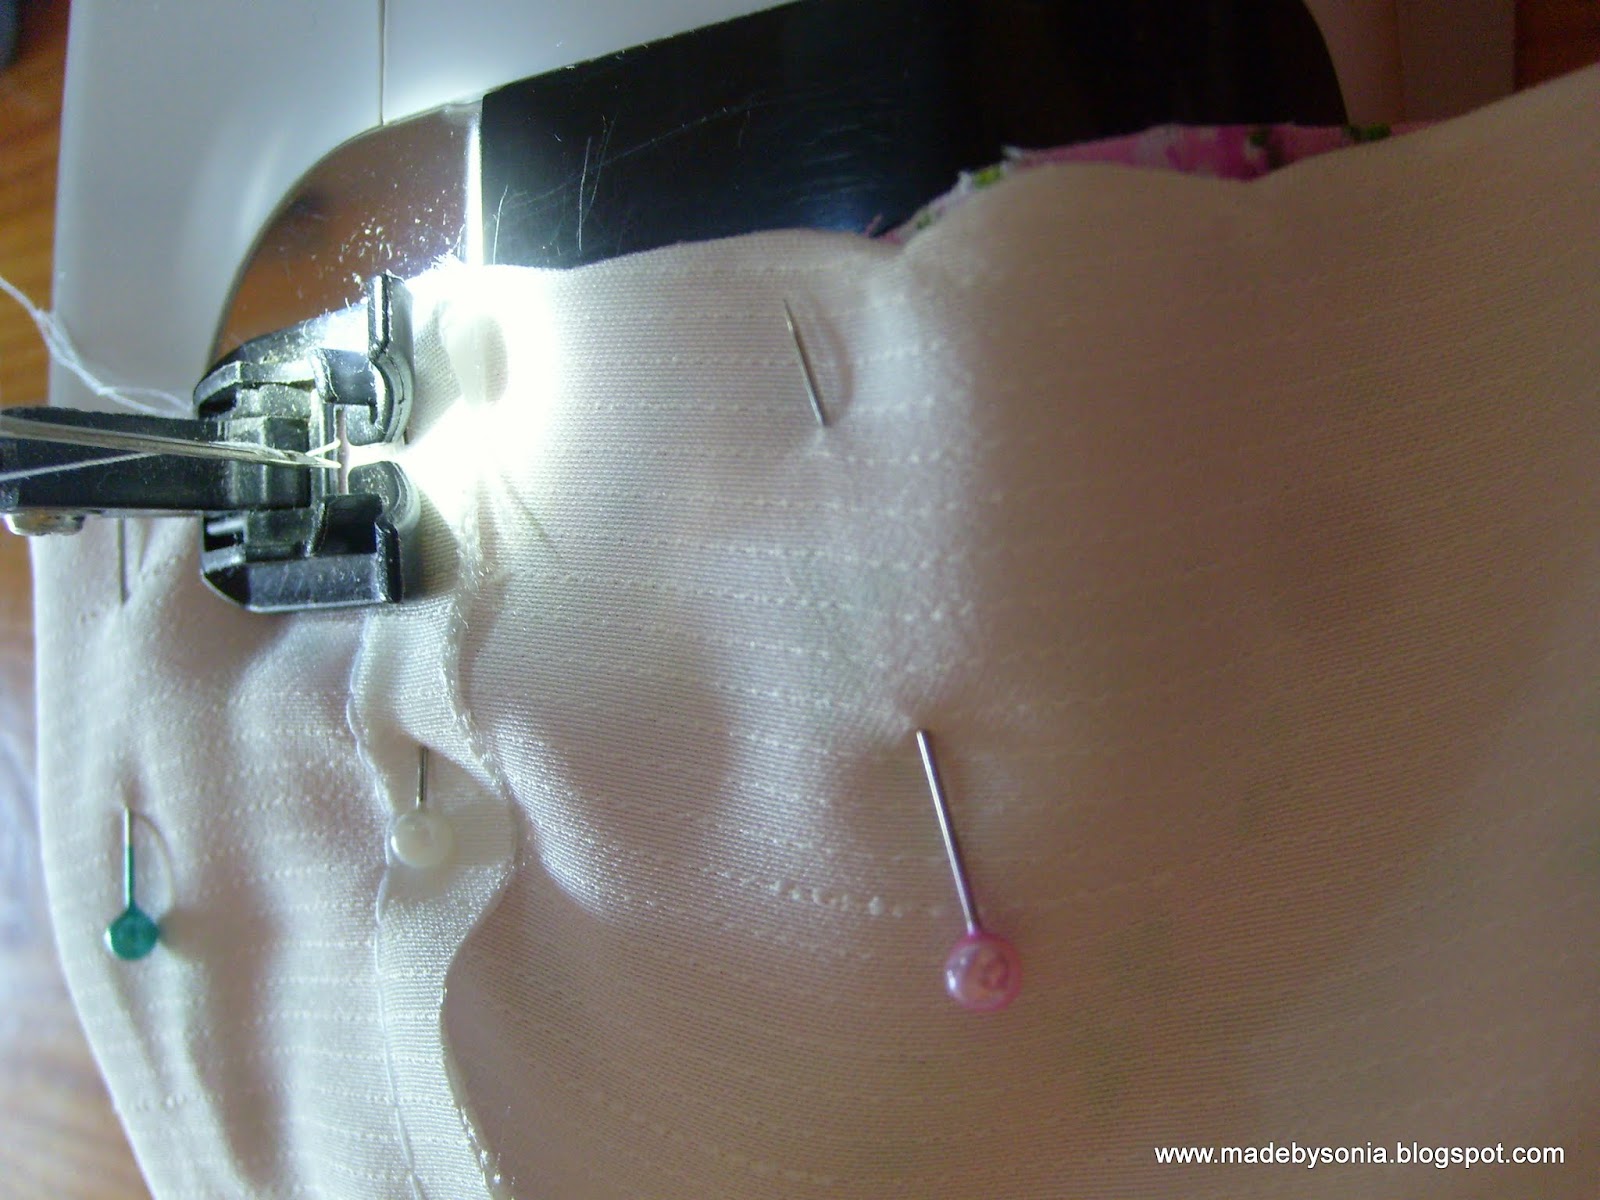
Depois cose-se o círculo, deixando uma pequena abertura para depois encher com algodão.
Podes encher com recheio para bonecos de peluche que é melhor do que o algodão.

After stitching the circle, leaving a small opening and then filled with cotton. You can fill with stuffing for soft toys, which is better than cotton.

Com linha preta passa-se repetidamente desde o centro para os lados. Fica assim feito o corpo da joaninha.

With black thread passes repeatedly from the center outwards. Thus is made ​​the body of the ladybug.

Para fazer a cabeça da joaninha, deve-se cortar um círculo do mesmo tamanho dos círculos que fizeram o corpo. Depois fecha-se e enche-se com algodão.

To make the head of the ladybug, you should cut a circle the same size of the circles that made the body. And then closed and filled with cotton.

Para fazer os olhos da joaninha, usa-se a mesma linha preta e que não se puxa até ao fim para fazermos os "corninhos". Depois dá-se um ponto com a agulha e enrola-se a linha na agulha 5 vezes antes de puxar a linha. Repete-se este passo 6 vezes para formar o olho.

To make the eyes of the ladybug, it uses the same black threadDoes not pull the thread to the end, to make the "antennas" ( sorry, but I do not know their names in English) . Then gives a point with the needle  and 5 laps in the needle before pulling the thread. This step is repeated six times to form the eye. 

A boca é feita com a mesma linha num semi-círculo.

The mouth is made ​​with the same thread in a semicircle.

Coloquei cola nos corninhos para lhes dar estrutura para ficarem arcados.

I put glue on "antennas" (sorry again) to give them structure.

Podes enfeitar a tua joaninha com missangas ou com tecido para fazeres os olhos, ou a boca, ou as bochechas... enfim, até onde a tua imaginação te levar!!!

You can decorate your ladybug with beads or fabric, to make eyes or mouth, or cheeks ... in short, as far as your imagination takes you!!!


Se precisarem de ajuda, não hesitem em contactar-me:  soniavcabral@hotmail.com

If you need help do not hesitate to contact me: soniavcabral@hotmail.com

Divirtam-se!!!!  Have fun !!!


quarta-feira, 22 de fevereiro de 2012

Fashion flowers


Olá, esta flor é muito fácil de fazer e podes usá-la como quiseres.
 Podes usar tecidos em acrilico, setim, e organza . 
Como temos que usar uma vela,
 como medida de segurança, aconselho-te que tenhas uma taça com água, enquanto queimas as pétalas.


Hello, this flower is very easy to do and you can use it however you want.
 You can use acrylic fabrics, satin and organza.
 As we have to use a candle,
as a safety measure I advise you that you have a bowl of water, while burning the petals.


 Em primeiro lugar cortas os moldes em cartão do tamanho que quiseres. Eu usei com as medidas de 6.25 cm, 5,25 cm, 4.25 cm e 3.25 cm, mas estas medidas não são importantes, podes escolher o tamanho que queres.
Depois vais precisar de 4 unidades de cada.
Para fazer como na foto em cima apenas usas os circulos, se quiseres com pétalas, cortas as petalas com o tamanho que quiseres.


 First cut the molds in cardboard the size you want. I used the measures of 6.25 cm, 5.25 cm, 4.25 cm and 3.25 cm, but these measures are not important, you can choose the size you want. 
 Then you'll need 4 units each.
To just like the picture above just use the circles, if you like the petals, cut them to the size you want.


A seguir aproxima-se da chama para derreter as pontas, pétala por pétala. E é sempre assim até ao fim.
Com os círculos é a mesma coisa, é só derreter à volta.

 Next approaches the flame to melt the ends, petal by petal. And it's always like this until the end.
 With the circles is the same thing, just melt around.


 Para fazer o centro da minha flor, enrola-se cada pétala e derrete-se uma a uma.
 To make the center of my flower, each petal curls up and melts one by one.


 No fim tem de se coser o centro para unir todas as pétalas. No centro pode-se pôr um botão, uma pedra, missangas... 
 Colar atrás um circulo de feltro já com um alfinete e já está pronta a usar onde quiseres.

At the end you have to sew the center to unite all the petals. In the center you can put a button, a stone, beads ...
Paste back a circle felt, already with a pin and is ready to use wherever you want.


 Bom trabalho !!! e depois mostrem-me as vossas flores.
Good job!!! and then show me your flowers.


Thanks to Jennifer Juniper for the photo above.


segunda-feira, 28 de novembro de 2011

Como fazer as bonecas das canetas,How to make pens dolls

Vou-vos mostrar como é que fiz as bonequinhas para as canetas.
É muito fácil fazê-las, as meninas ficam muito contentes e também podem ajudar.

I'll show you how I made the dolls for the pens.

It is very easy to do them, the girls were delighted and can also help.

  1. Primeiro fiz um fuxico cheio com algodão. Depois desenhei as carinhas com caneta de acetato e nas bocheichas passei giz para dar a cor.
First I made a circle of fabric filled with cotton. Then I drew the faces and on the cheeks I chalk to give color.


2. O passo seguinte foi o dos cabelos. Enrolei a lâ nos dedos em circulos e depois atei os fios numa ponta e cortei na outra extremidade.

The next step was the hair. I wrapped the blade in my fingers in circles and then I tied the wires at one end and cut the other end.


3 . Os vestidos têm 10cm*5cm e cose-se para fechar os lados. No topo tem que se franzir o tecido, fechando uma das partes.

The dresses are 10cm * 5cm and stitches to close the sides. At the top you have to pucker the fabric, closing one of the parties.


4. Para fazer a bainha aos vestidos, apliquei um bocadinho de cola por dentro.
Depois é só colar os cabelos, colar a cabeça aos vestidos e posteriormente colar as bonecas às canetas.

To make the sheath dresses, I applied a little glue on the inside.
Then just glue the hair, dressed head to the glue and then glue the dolls to pens.


E já está.
That's it.